How to Whitewash Dining Chairs for a Rustic Farmhouse Look

DIY: How To White Wash Dining Chairs for a Rustic Farmhouse Look

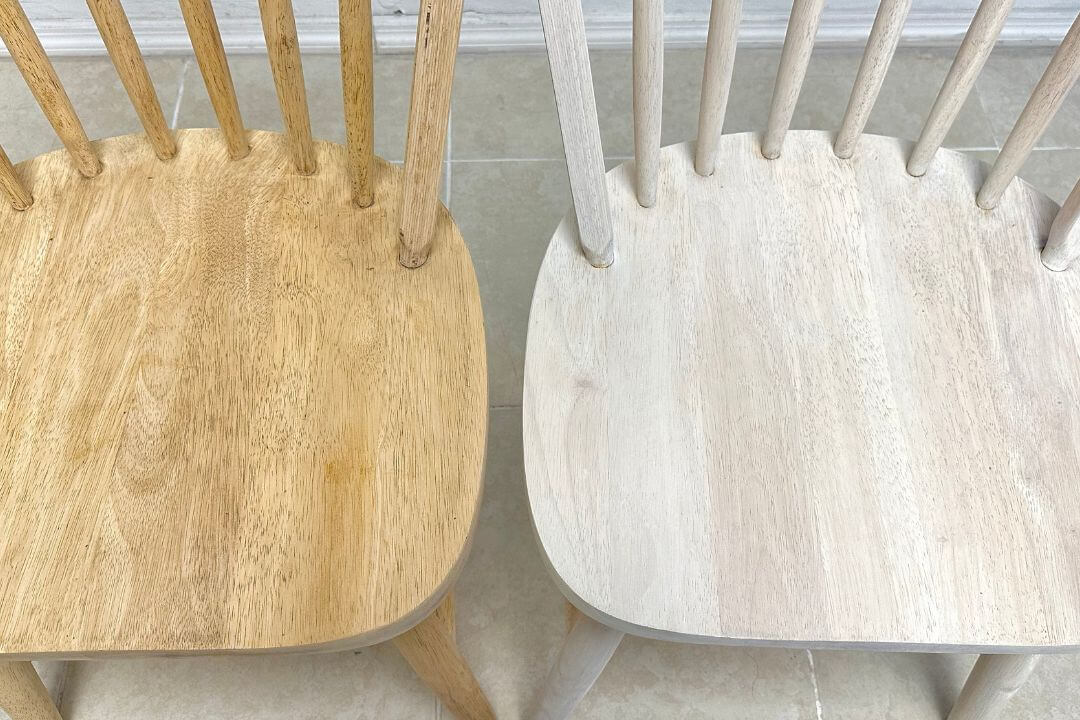
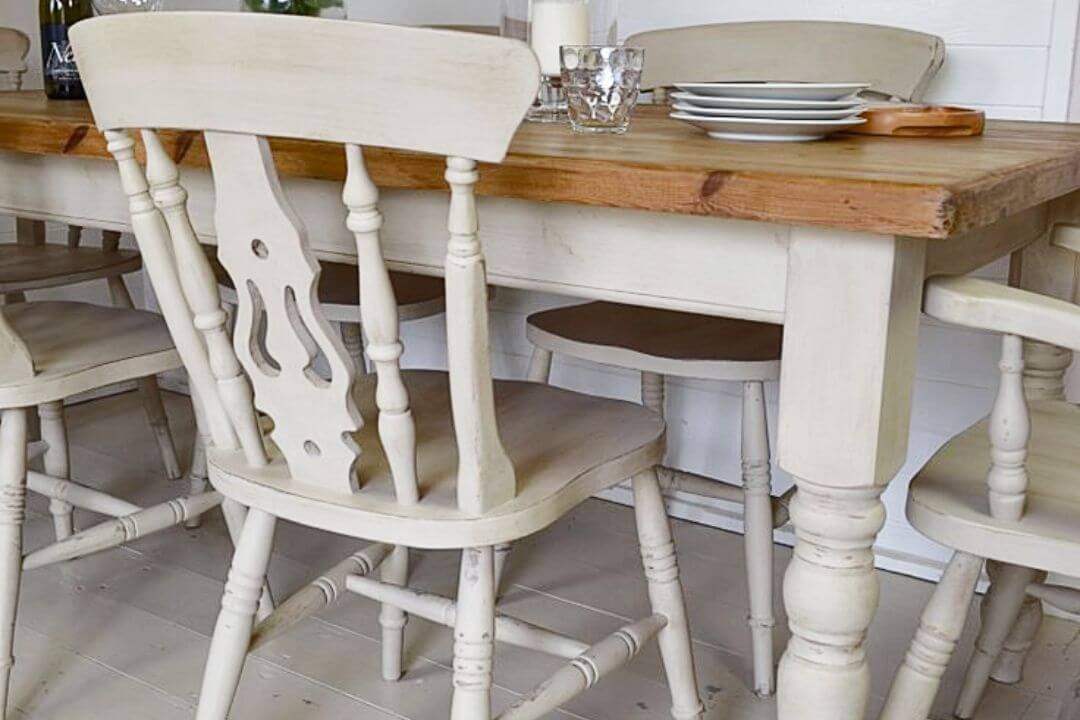
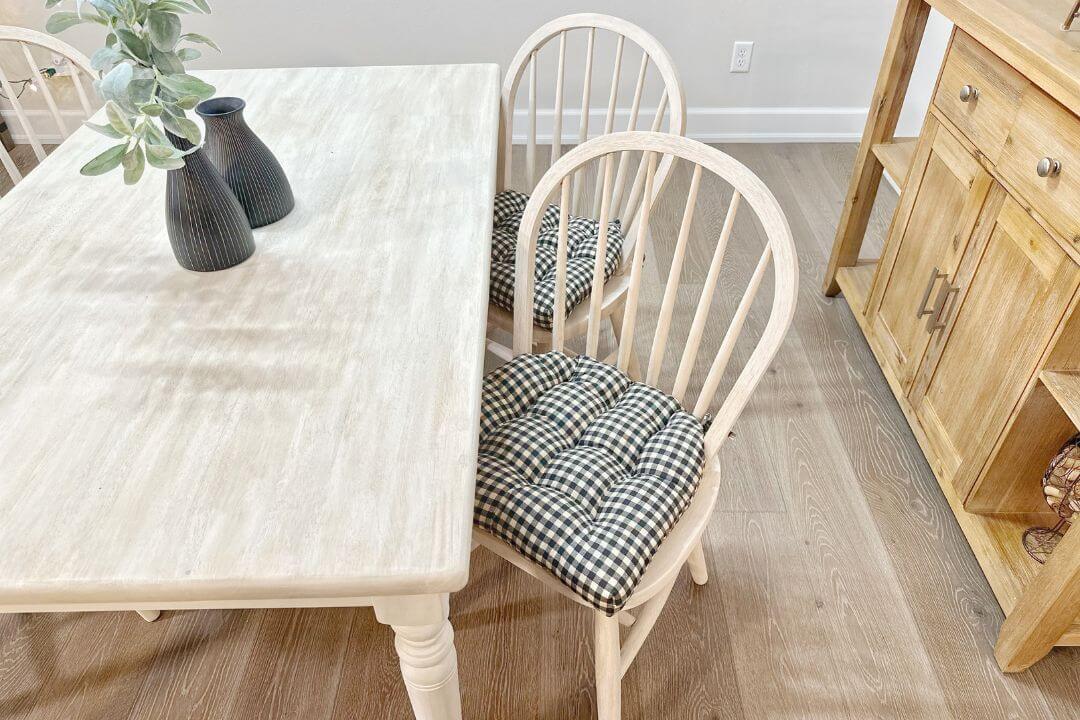
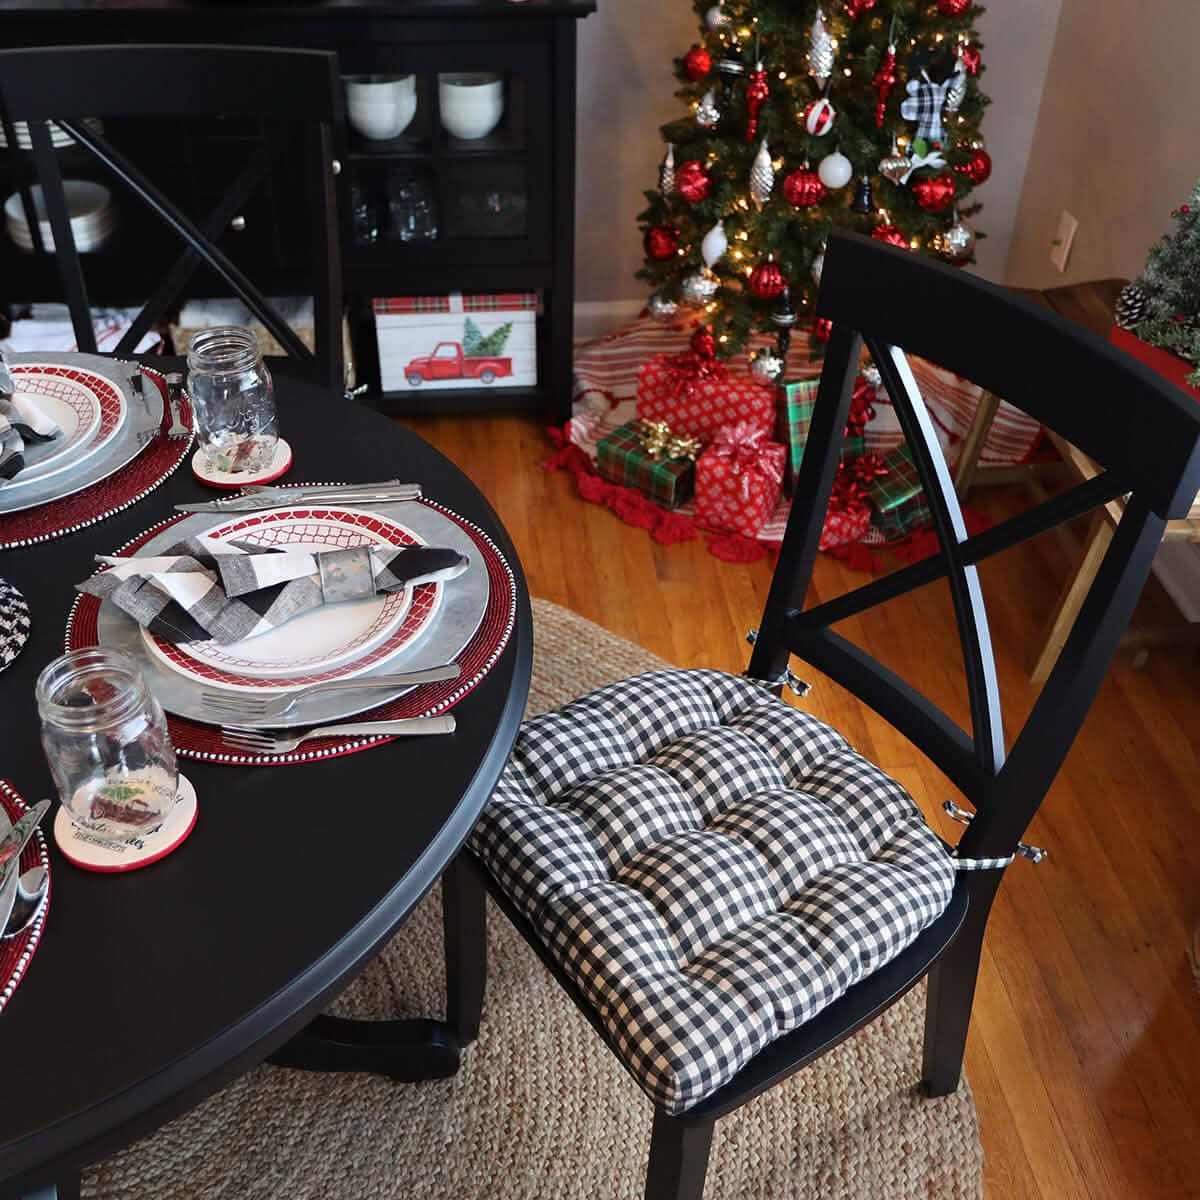
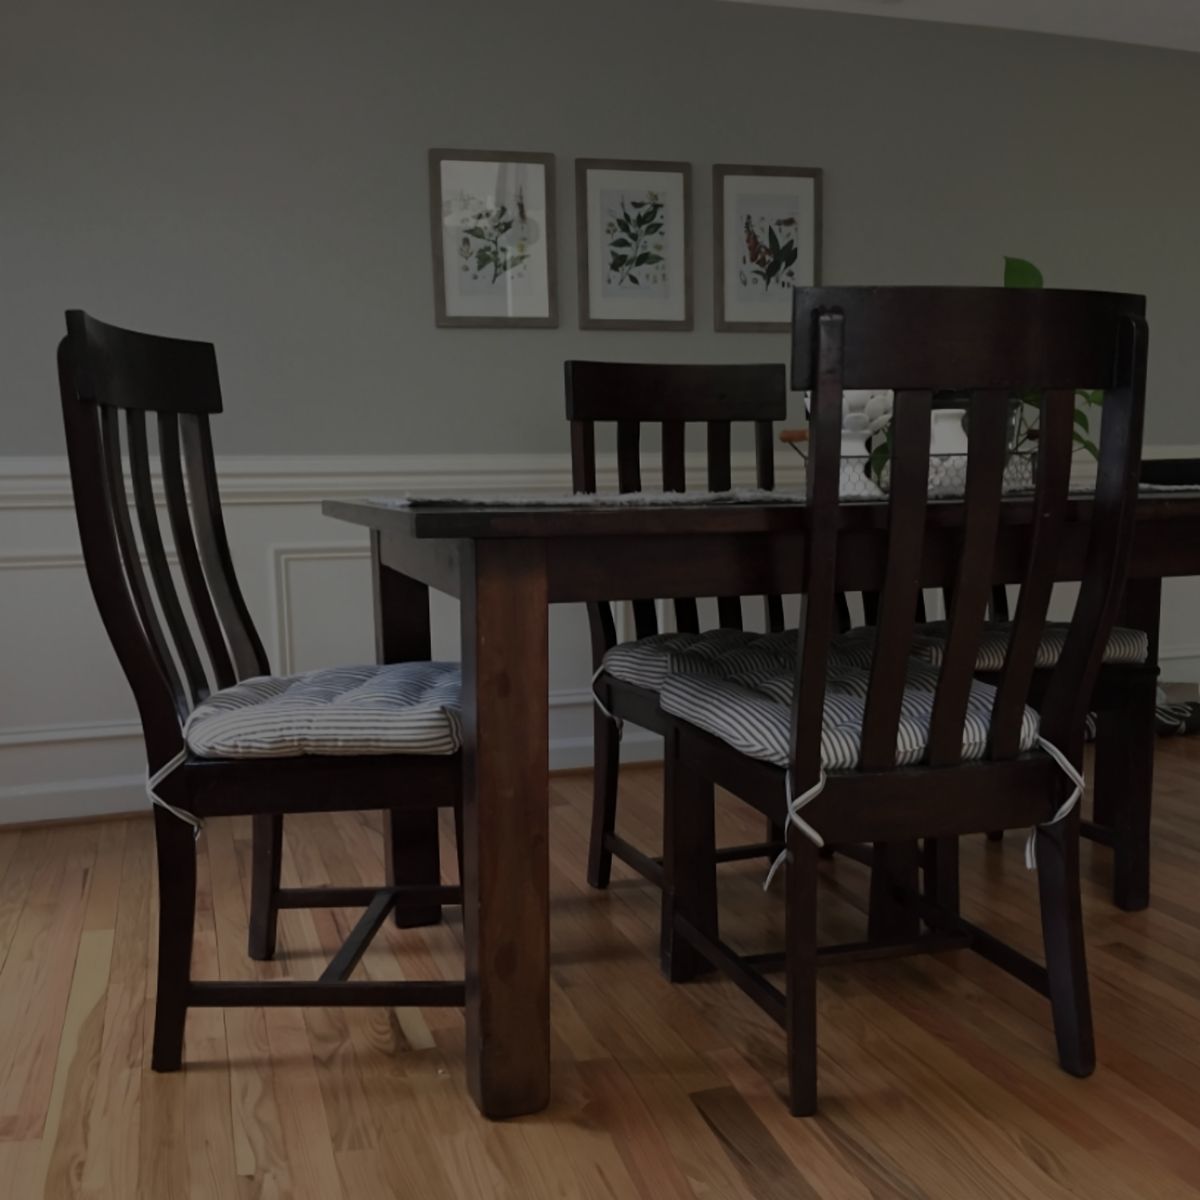
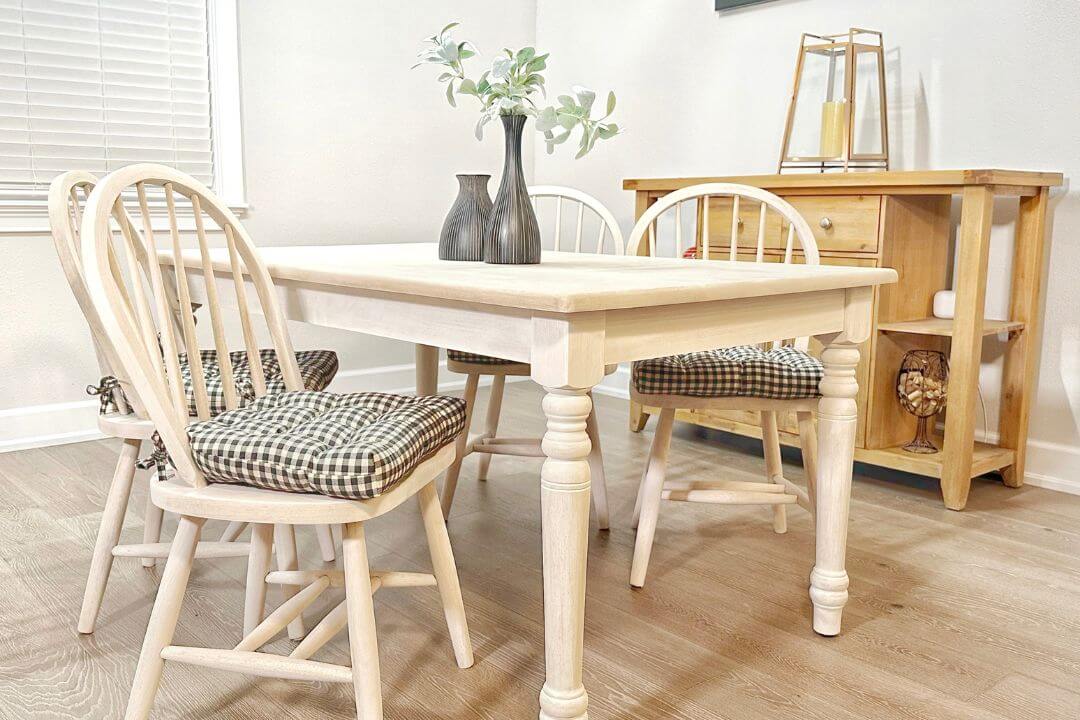
In this tutorial we'll be discussing how to give your dining chairs a rustic farmhouse look with a whitewash paint technique.  The reason we think "rustic farmhouse" when we see dining sets with this finish is linked to the real history of farmlife in America's heartland.  What we'll be doing today is actually a faux finish using modern latex paint to create the look of the much earlier technique known as limewash.  Farmers used lime in many agricultural applications so there was always a good supply on hand, plus it protected surfaces from insects and it was cheaper than paint; this made it a great choice for big outdoor surfaces like barns and fences.  Limewash also has antibacterial properties, so it was a smart choice for the farmer's dairy and kitchen surfaces as well. 

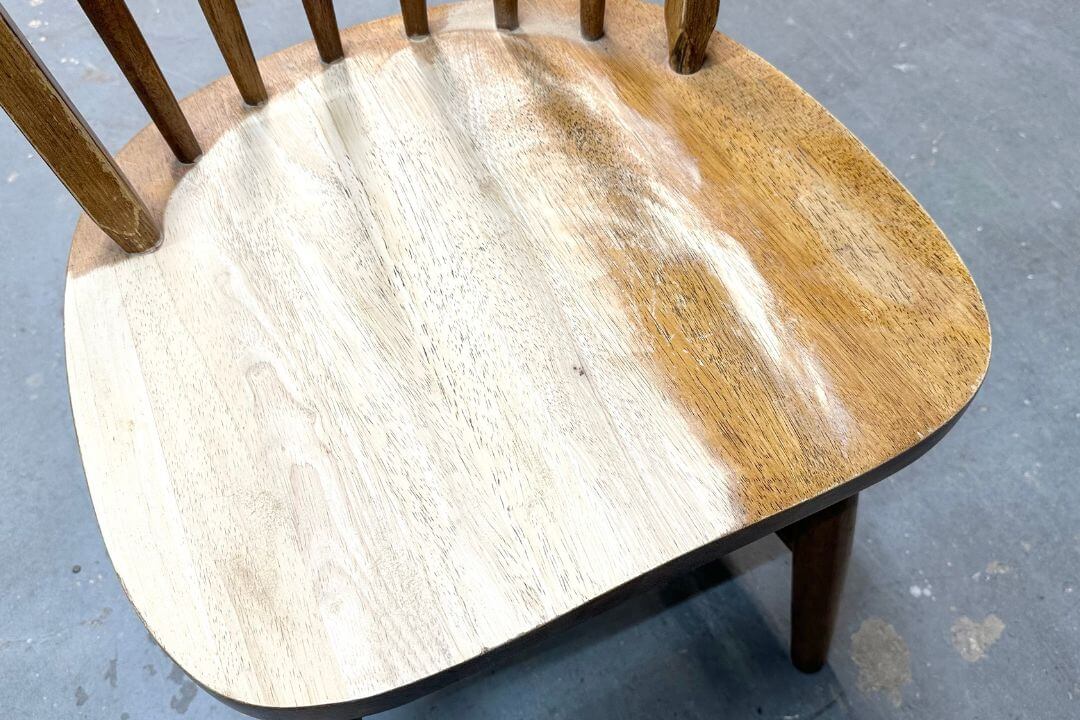
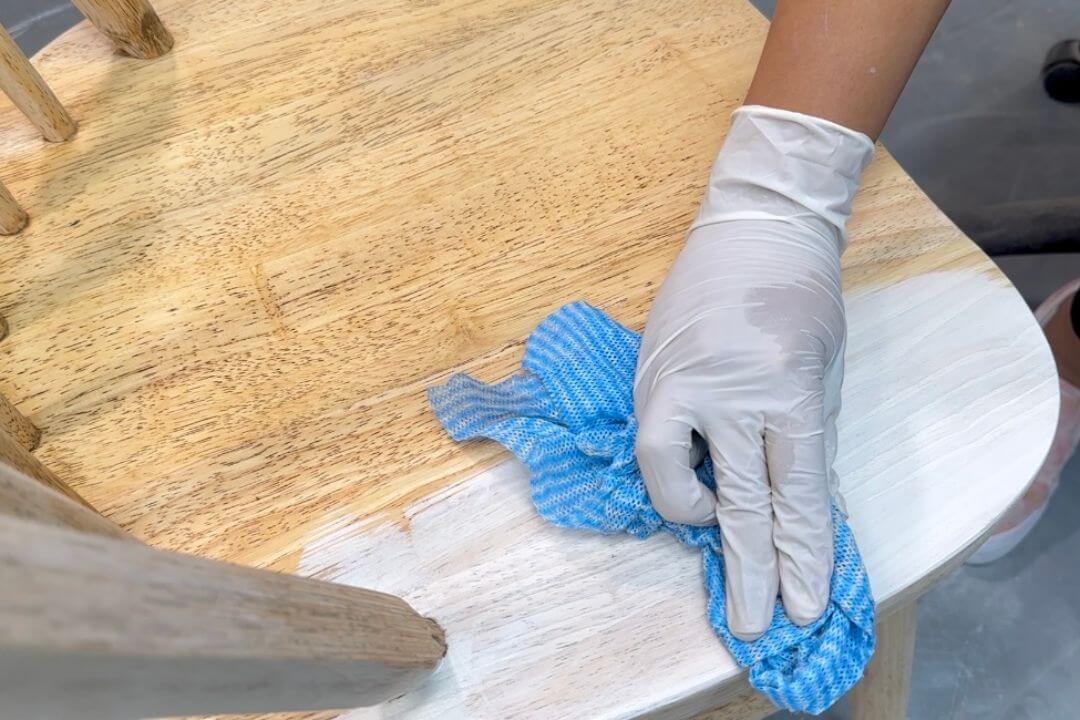
Limewash's distinct look comes from two characteristics: First, it's partly transparent, so you can see the wood grain through the finish in some places. And second, limewash tended to flake off after awhile, so the farmer would apply a new layer every year.  Layers of limewash would build up in nooks and crannys, giving these areas a more opaque white coating.  Broad areas where the wash was evenly distributed tended to be more transparent, and surfaces that came into a lot of contact with people and animals, such as seats and edges, would often be rubbed bare.

For this project you'll need

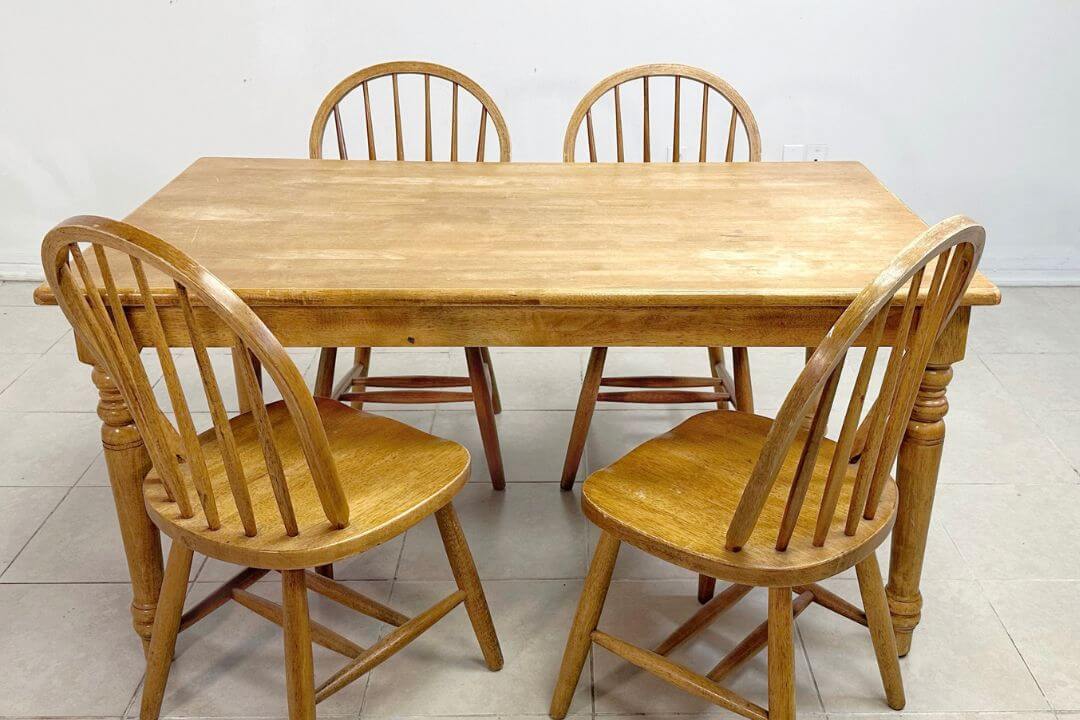
  • dining chairs with traditional or primitive styling
    • no cane backs or seats
    • no upholstered surfaces
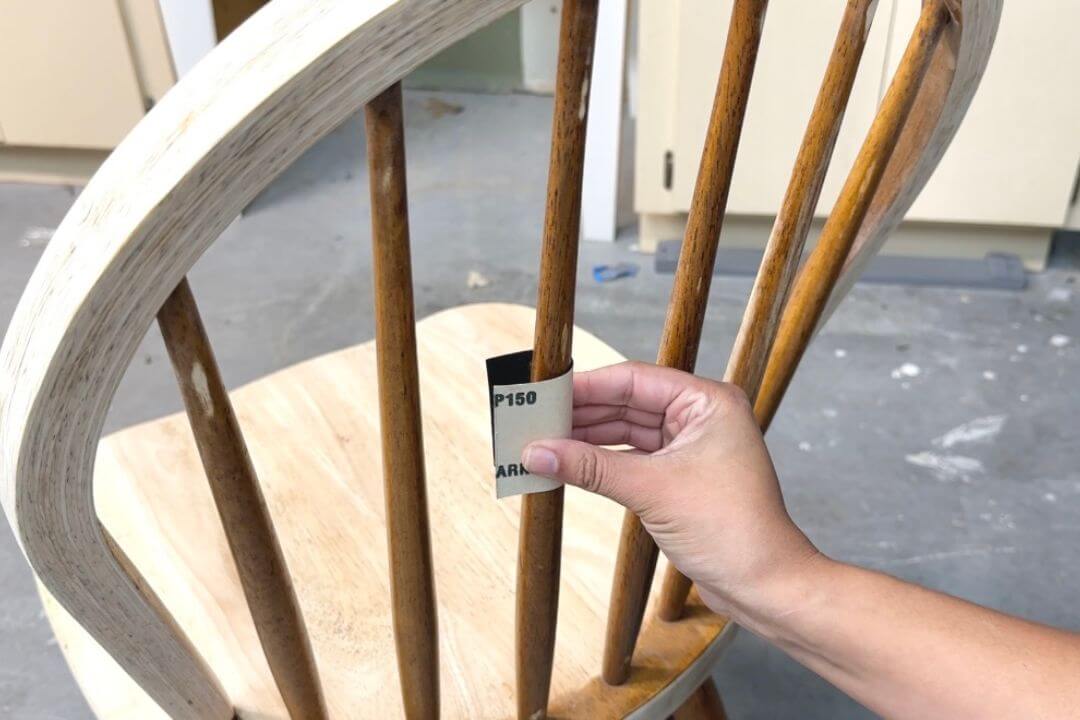
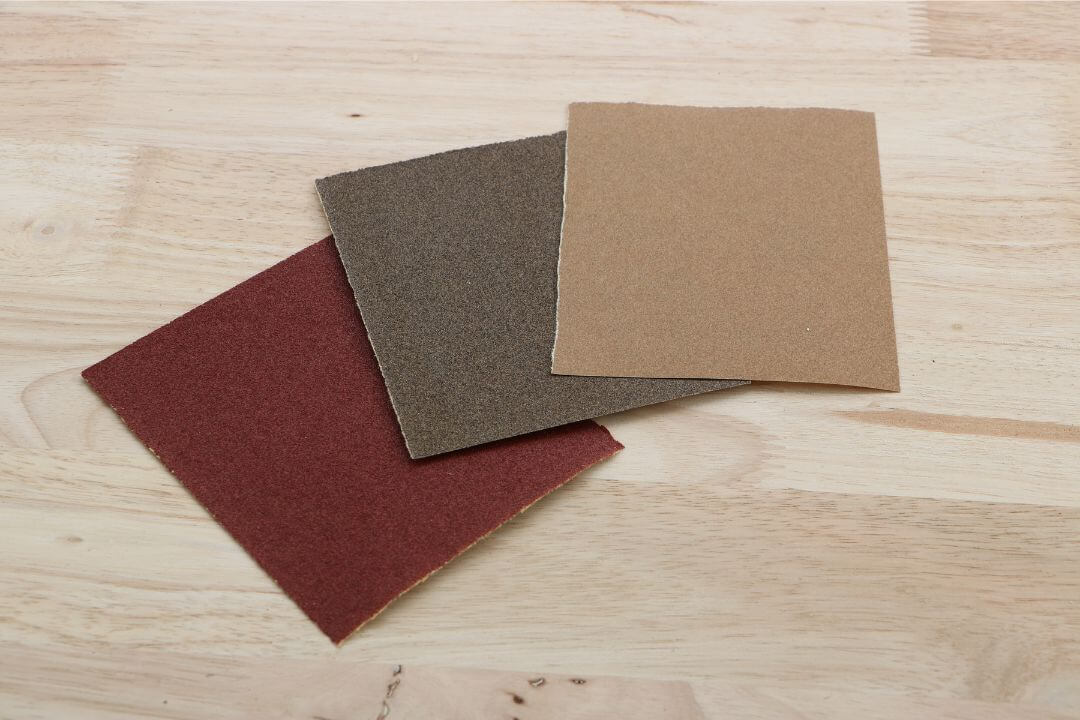
  • fine grit sand paper or sanding block
  • if your chair already has a finish on it you'll also need a medium grit sandpaper
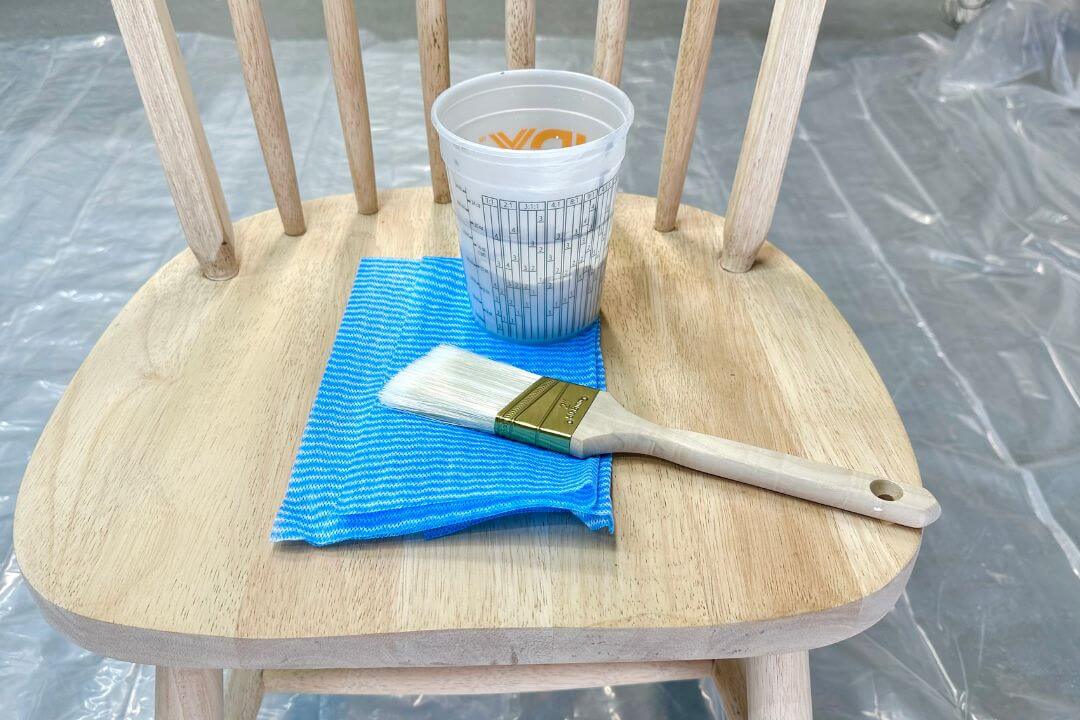
  • clean cloth or rags - lint-free
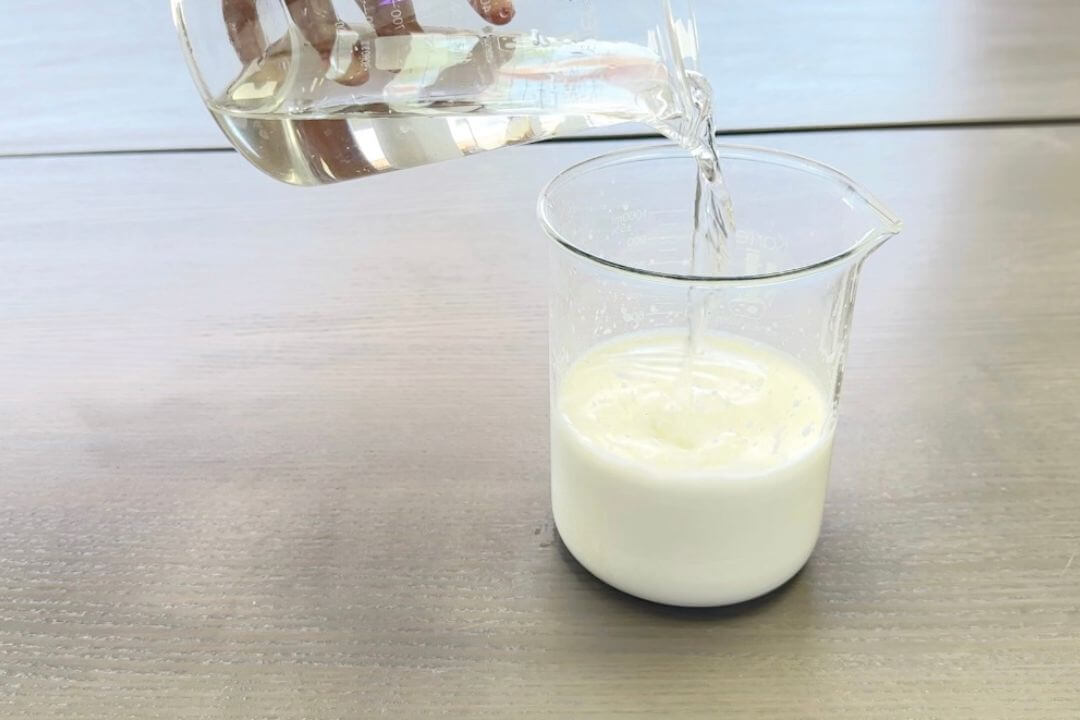
  • water (distilled is best but you can get by with tap water)
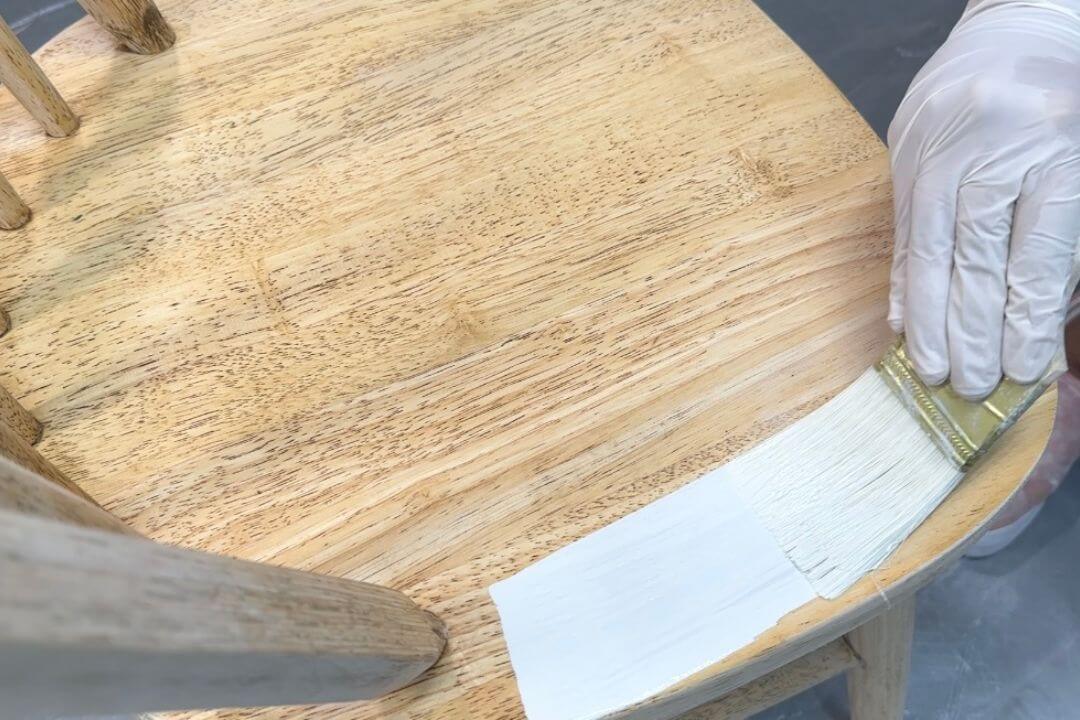
  • latex paint
  • clean paint brush (angular sash brush with synthetic bristles is best)
  • container to mix your paint and water
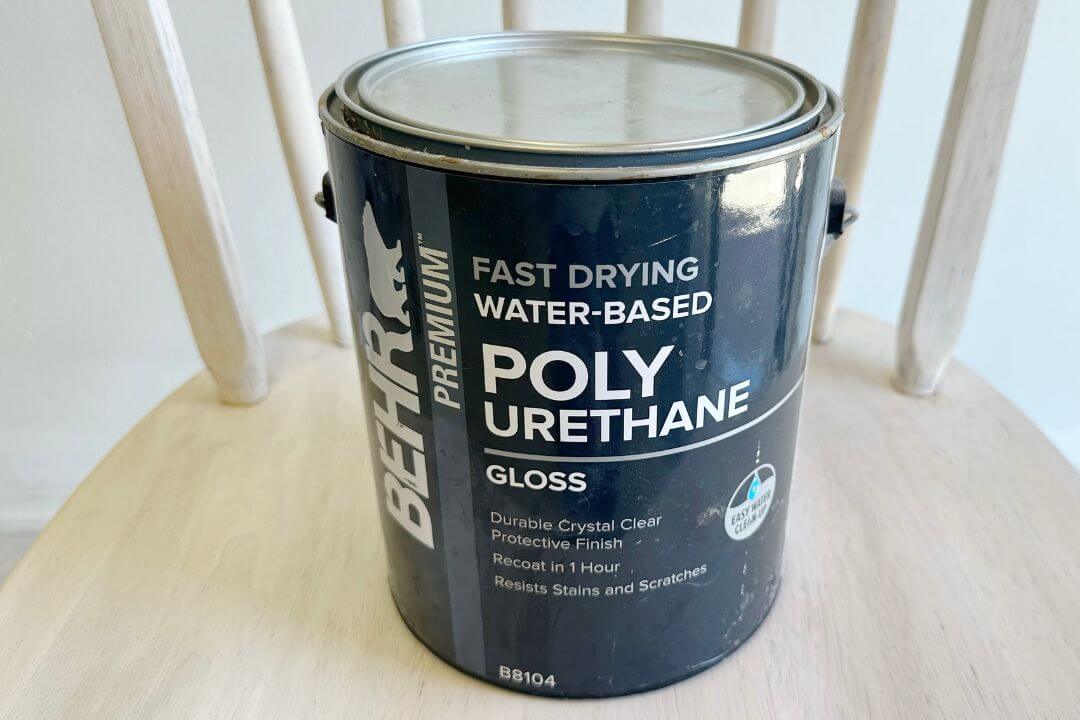
  • water-based polycrylic

Step 1. Remove the old finish

If your chair already has a finish on it, start sanding gently with a medium grit sandpaper (60-100) until you've removed the paint or stain.  You might be tempted at this point to leave a smattering of the old finish here and there to achieve that time worn layered look -resist the urge- that technique might work for some "rustic" looks, but it won't work for this one, sand it all off.  If your chair is unfinished skip to step 2.

Step 2. Sand with fine grit sandpaper

Sand with a fine grit sandpaper (100-120) until you have smooth bare wood.

Step 3. Clean off all the dust

Clean off all the dust from sanding. You can clean it with a damp rag and let the chair dry, or you can clean it with a dry microfiber cloth, just be sure you get all that residue from sanding off.  You can use a dry paint brush to get the dust out of any crevices.

Step 4. Mix latex paint with water

Mix two parts latex paint with one part water.

Step 5. Visualize your chair divided into smaller portions

We want to cover small areas so we can wipe the paint before it dries -and white wash dries pretty quick. Paint your small area in long strokes of the brush following the grain of the wood. You don't have to get full coverage.

Step 6. Wipe off excess paint

Immediately wipe off excess paint with a clean rag.  This will achieve the transparent look characteristic of limewash. Repeat steps 5 & 6 on each small area of your chair, one area at a time, until you have done the whole chair.  Try not to overlap brush strokes too much on areas you've already painted.

Step 7. Give your chair 24-48 hours to dry

Give your chair 24-48 hours to completely dry. Repeat steps 5 & 6 several times until your finish is as opaque as you want it.  This is a matter of taste, some whitewash finishes are almost totally transparent except in the crannies, other white wash finishes are almost totally opaque except in the high traffic areas.

Step 8. Use Fine Sandpaper to finish areas with Frequent Contact

When your chair is completely dry, use fine sandpaper to gently sand parts of the chair that would see frequent contact with hands and legs, such as the edges of the chair's legs, spindles, the top edges of the chair's back, and the front edge of the seat.  You can sand these areas until they are almost bare.

Step 9. Use Fine Sandpaper to finish areas with Broad Contact

Think about the parts of the chair that come into contact with broad parts of the body like the seat and back, if your finish is too opaque in these areas you can very gently sand with fine grit paper until you see more of the wood grain through the transparent paint, but go carefully because you wouldn't ordinarily see bare wood in these places. Clean with a dry cloth

Step 10. Seal with a water based Polycrylic

Seal with a water based polycrylic and a clean brush. Allow 24-48 hours to dry completely.

About Bre

Bre Bringier is a furniture redesigner from Tampa, Florida who teaches DIY furntiure refinishing. You can follow her flipping furniture on Instagram @redesignbybre

How did it turn out? Post your photos to Pinterest or Instagram hash tag #Barnett_Home_Decor and we'll feature your project in our gallery!

1 of 3
1 of 3